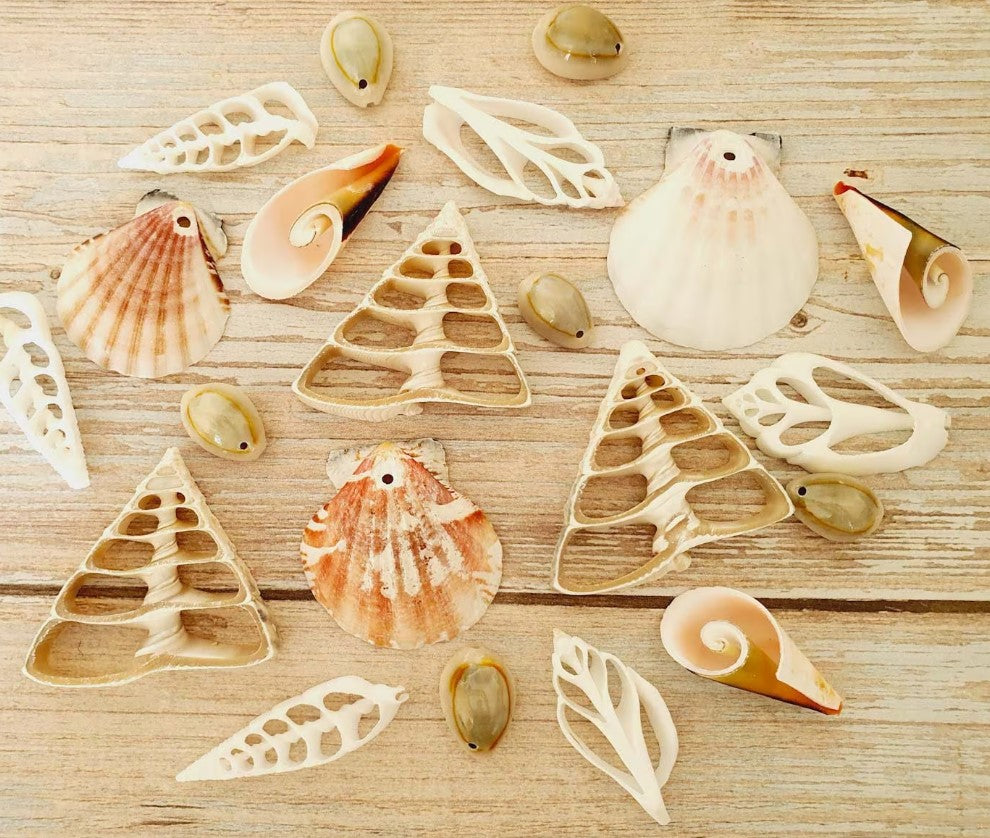
Shaping Shells: A Guide to Drilling Sea Shells for DIY Projects with DRILAX Diamond Drill Bits
Share
Sea shells, with their captivating natural beauty, have been a favorite choice for crafting enthusiasts for centuries. Whether you want to create delicate wind chimes, unique jewelry, or ornate home decor, drilling holes in sea shells is a fundamental skill. In this guide, we'll walk you through the process of safely drilling sea shells using DRILAX Diamond Drill Bits to unlock your creativity and embark on a world of stunning DIY projects.
Materials You'll Need:
Before we dive into the techniques, gather these essential materials:
-
Sea Shells: Choose shells that are clean, dry, and in good condition.
-
DRILAX Diamond Drill Bit: Opt for a high-quality DRILAX Diamond Drill Bit designed for drilling through hard materials like shells and gemstones. You can find a wide selection of these drill bits at www.drilaxtools.com.
-
Safety Gear: Wear safety goggles and a dust mask to protect your eyes and respiratory system from shell fragments and dust.
-
Duct Tape: To create a secure drilling surface.
-
Container of Water: For cooling and lubricating the drill bit.
Step-by-Step Instructions:
1. Prepare Your Workspace:
- Lay down a piece of duct tape sticky side up to keep the shell from sliding while you work.
- Position your sea shell on the duct tape, ensuring it's stable and won't wobble during drilling.
2. Mark Your Drilling Point:
- Use a pencil or marker to mark the exact spot where you want the hole in the shell.
3. Safety First:
- Put on your safety goggles and dust mask before proceeding.
4. Lubricate with Water:
- Dip the shell and the DRILAX Diamond Drill Bit in the container of water to lubricate and cool the bit. This helps prevent overheating and reduces the risk of cracking the shell.
5. Start Drilling:
- Hold the drill perpendicular to the shell's surface.
- Begin drilling at a slow speed with light pressure. Let the drill bit do the work; avoid forcing it through the shell.
- Continue to add water as needed to keep the drill bit and the shell cool and lubricated.
- Be patient; drilling through a shell may take some time, especially with thicker shells.
6. Finish Smoothly:
- Once you've created the hole, turn off the drill and allow it to come to a complete stop before removing it from the shell.
- Gently remove any rough edges or splinters around the hole using a fine-grit sandpaper or a small, round metal file.
7. Clean and Dry:
- Rinse the shell under running water to remove any shell dust or debris.
- Allow it to dry thoroughly before incorporating it into your DIY project.
Tips for Success:
- Take your time: Patience is key when drilling sea shells. Rushing can lead to cracks or damage to the shell.
- Use a steady hand: Maintain a steady hand and a controlled, even pressure on the drill throughout the process.
- Choose the right drill bit: Invest in a high-quality DRILAX Diamond Drill Bit for the best results. You can explore a variety of these drill bits at DRILAX Tools.
- Practice on spare shells: If you're new to shell drilling, practice on spare or less valuable shells before working on your prized pieces.
Unlock the potential of sea shells in your DIY projects by mastering the art of drilling with DRILAX Diamond Drill Bits. With these tips and techniques, you can confidently create stunning crafts that showcase the natural beauty of these ocean treasures. So, go ahead, let your creativity flow, and watch your sea shell creations come to life!
